Fun fact: You can thank Ancient Egyptians for our modern Marshmallows! They squeezed sap from the Marshmallow plant (Athaea Officinalis) and then whipped it with honey. This plant grew wild along the marshes of the Nile River and other wetland areas. It was often used in these ancient times for its medicinal qualities. The primitive marshmallow treat was quite the healthy snack because Marshmallow, which is a mucilaginous herb, was not only used as an immune booster and digestive aid but they also used it to help soothe dry coughs. In Ancient Greece, it was often used for sore throats and lagging libido. By the 1800s the entire world was catching on to this “healthy” snack. But how did we transition from that to the treat we know and love that is mass-produced, filled with corn syrup, and…not so healthy?
In the mid-1800s a French confectionary store owner whipped the mallow plant until it fluffed and poured it into a mold. By the time is cured, it more closely resembled a throat lozenge than anything else. It was a time-consuming concept and once you mixed that with the high demand of customers, they were constantly sold out. By the late 1800's, they found their answer. The Starch Mogul System was invented and the candy makers found a way to quickly produce the whipped treat by taking out the actual mallow plant, replacing it with gelatin, and adding corn starch.
However, it is still pretty easy to make your own healthy marshmallows! It's also a great recipe for kids to help with:
Ingredients:
- 1 Cup Water (divided)
- 3 TBSP Gelatin (I prefer grass-fed beef gelatin but you'll need the gelatin to achieve that classic marshmallow fluff)
- 1 Cup Raw Honey or Maple Syrup (pure Maple Syrup not the corn syrup variety)
- 1 Pinch of Salt
- 2tsp of Vanilla Extract
- 1Tbsp Marshmallow Root
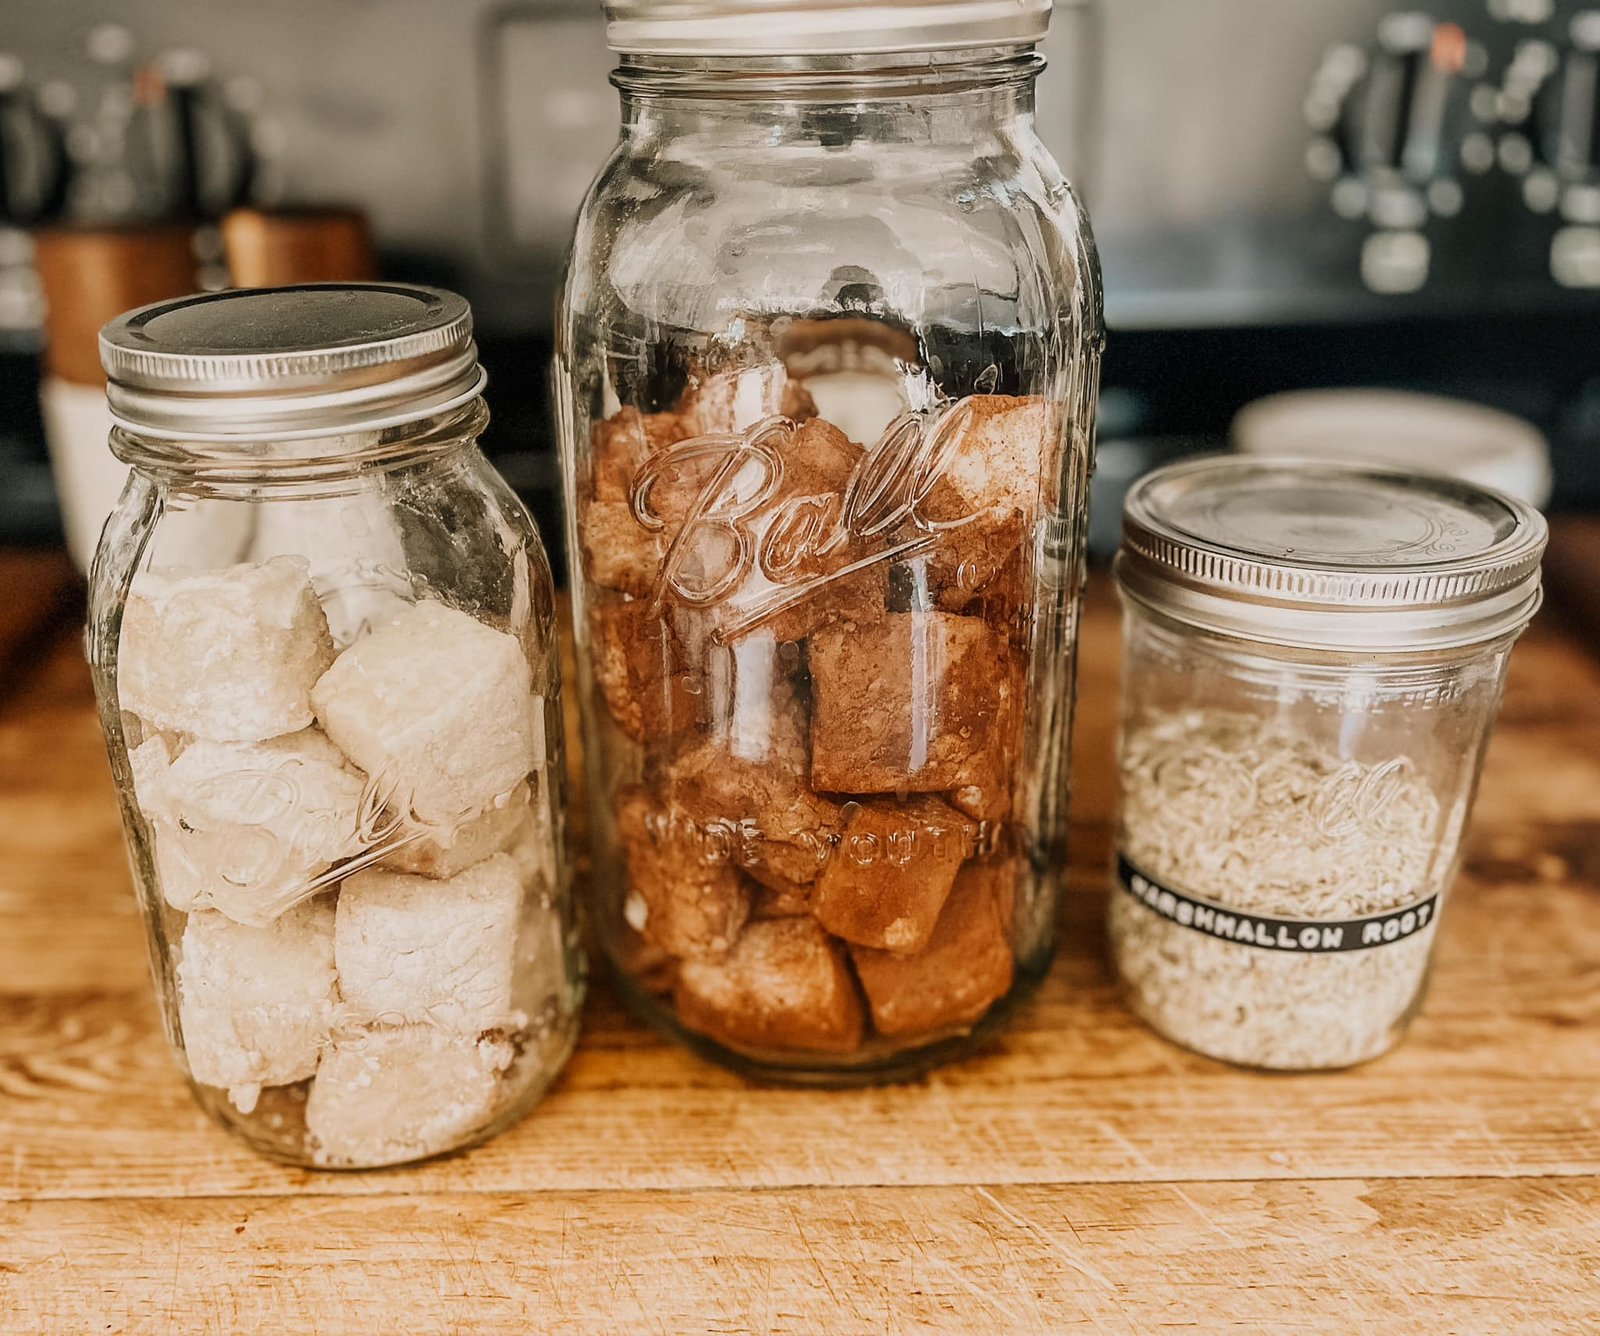
- Arrowroot Powder or Cocoa Powder for Dusting
Instructions:
- First, we will make our marshmallow root tea. You will want to make one cup of tea. It would be wise to use 1 1/4 cup of water for the tea as the marshmallow root will soak up some of that water and we will need an entire cup in this recipe.
- After straining out the herbs, pour 1/2 cup of your tea into a large bowl or stand mixture
- Sprinkle the gelatin on top and let it sit for 10 minutes. This allows the gelatin time to bloom.
- Take your other 1/2 cup of tea and bring it to a boil with the honey/maple syrup and salt. After it comes to a boil, turn it to medium-high heat and avoid stirring it so it doesn't boil over. It would be helpful to have a candy thermometer. Our goal temperature is 240°. If you don't have a candy thermometer, it should be ready after about 10 minutes
- Turn the stand mixer (if using one) on low and start mixing your gelatin and tea together. Once it appears to be mixed, slowly pour in the honey/maple syrup mixture you were boiling. Add the vanilla extract. Slowly bring the speed to high and whip until you have soft WHITE peaks forming. At this point, your mixture will look and feel like marshmallow fluff. This can take anywhere from 5-10 minutes so be patient.
- While your mixture is whipping, prepare your marshmallow pans. You can use a smaller 8x8 pan for thick large marshmallows or a 7x11 pan for smaller marshmallows. Line the bottom and sides of the pans with parchment paper. Dust the bottom WELL with either cocoa or arrowroot powder to prevent sticking together. We like to do a batch of both.
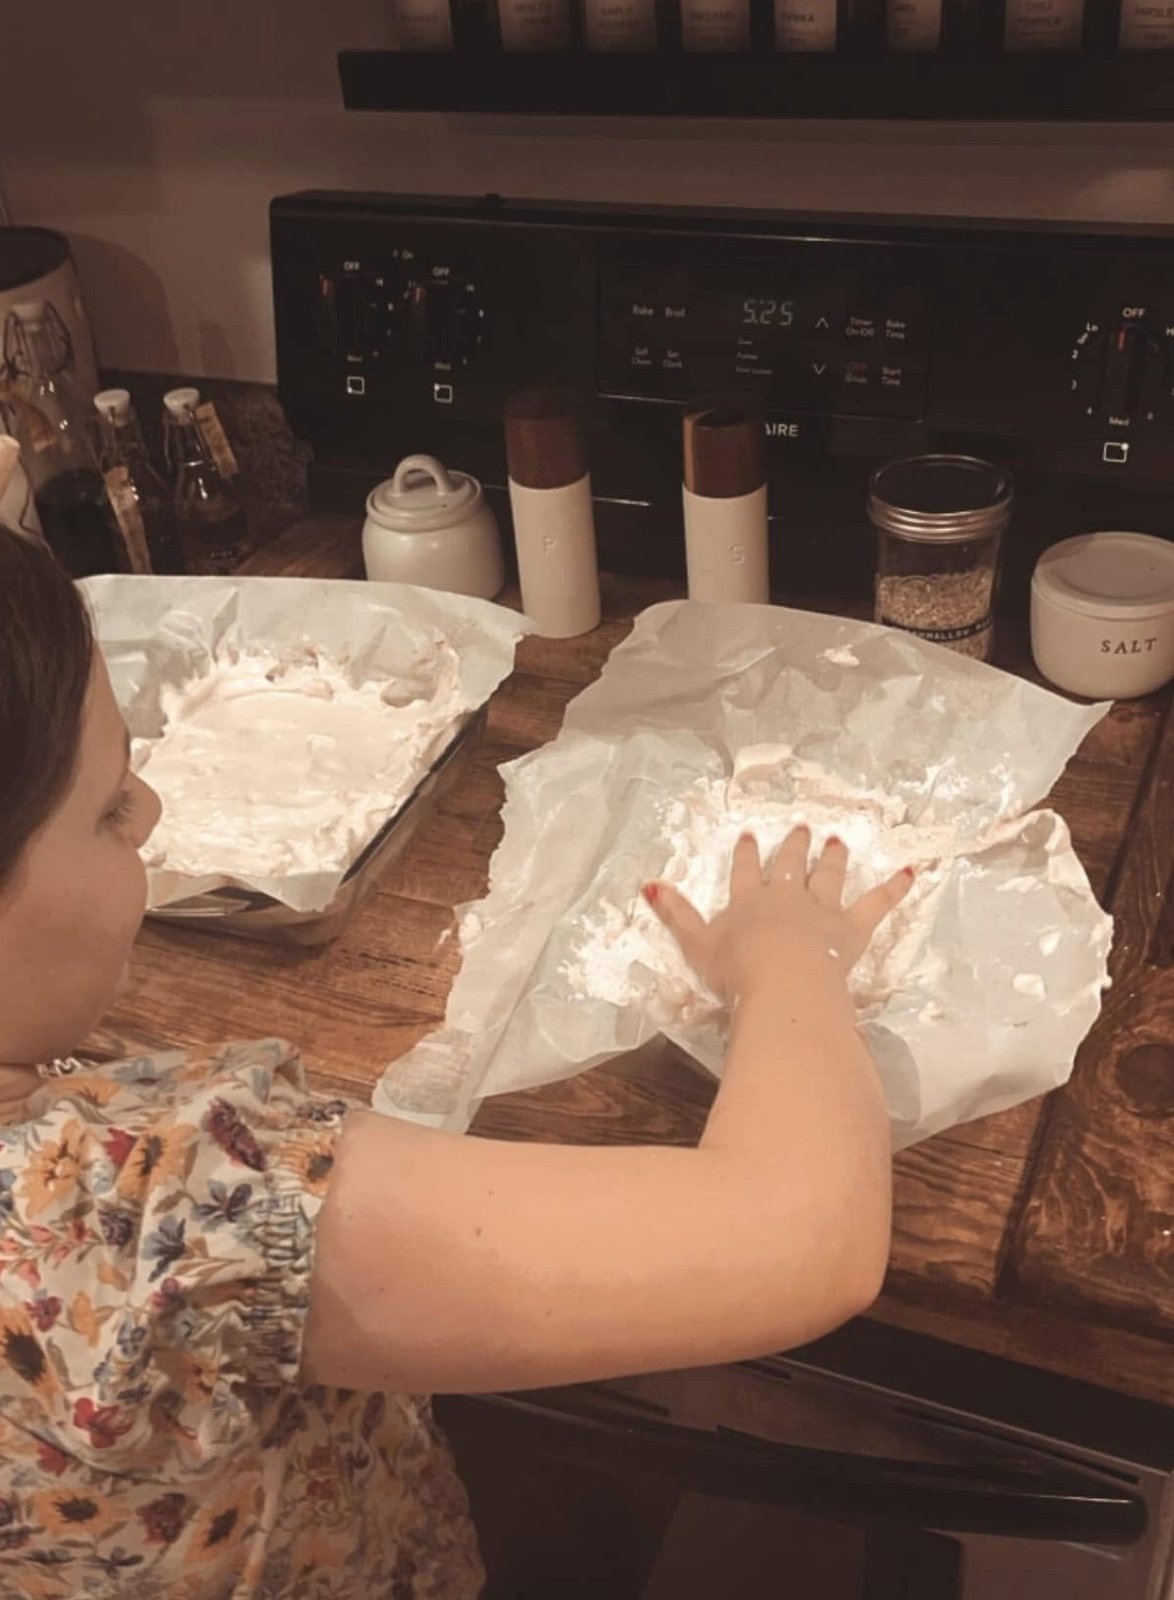
- Now this is the part you'll want to let your kids help with because it is their favorite. Once the marshmallow mixture is ready, pour into the pans, dust with the cocoa or arrowroot powder, and let the kids smooth it out, pat it down, etc. with their hands until it's pretty level.
- Set aside, lightly covered, for four hours or overnight.
- When ready, flip the marshmallows out of the pan and cut into the size of preference. I use a pizza cutter and just cut them into strips and then jumbo blocks. Then, I like to lightly dust them again to keep them from sticking.
- Now, the most important part: these do not last over 3-7 days. This really depends on the time of the year. They keep well in the cooler months but can mold pretty quickly in the humid summer months. Ensure you are keeping an eye out for any white spots (this is where using cocoa powder comes in handy).
And if you have ANY questions you can hit that consult button on the main page and I will respond with recipe guidance!